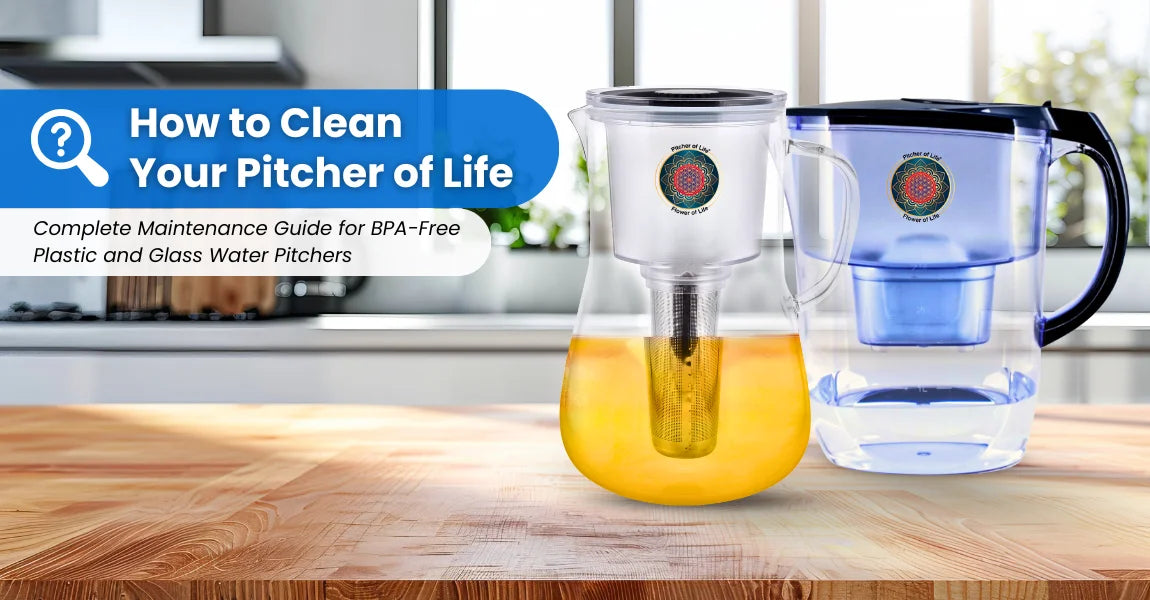
Proper water pitcher cleaning is crucial for maintaining fresh-tasting filtered water and extending your Pitcher of Life's lifespan. Whether you own a BPA-free plastic or borosilicate glass model, this cleaning guide will help you maintain optimal water quality and pitcher performance.
Why Regular Water Pitcher Cleaning is Essential
Water pitchers require consistent maintenance to prevent mineral buildup, remove residue, and maintain the fresh taste of your filtered water. Without proper cleaning, pitchers can develop unpleasant odors, cloudy appearance, and affect the overall quality of your drinking water experience.

Water Pitcher Cleaning Supplies Checklist
- Mild dish soap
- Soft, non-abrasive cleaning cloths or sponges
- White vinegar for mineral deposits
- Baking soda (ideal for glass pitcher cleaning)
-
General Purpose Cleaner (HOCL) from SolutionsHOCL.com
- Clean water for thorough rinsing

Complete Pitcher of Life Cleaning Instructions
Step 1: Disassemble Your Water Pitcher
Begin your pitcher cleaning routine by completely disassembling your Pitcher of Life. Remove the lid, water reservoir, and filter to access all water-contact surfaces. This will ensure deep cleaning of every component.
Step 2: Basic Water Pitcher Washing
Clean all interior surfaces with warm, soapy water using a soft cloth or sponge. This cleaning method works for both BPA-free plastic and glass pitcher models. Important: Never use abrasive scrubbers on your water pitcher, as scratches can trap residue and affect water taste.
Step 3: Complete Rinsing Process
Rinse all pitcher components thoroughly with clean water to eliminate soap residue. Proper rinsing is essential for maintaining pure water taste and optimal filter performance in your Pitcher of Life.
Step 4: Remove Mineral Deposits and Stains
For stubborn mineral buildup or water stains:
-
Vinegar solution: Soak components in 1 part white vinegar to 3 parts water for 30 minutes
-
Glass pitcher treatment: Create a baking soda paste for tough stains on glass models
-
Final rinse: Always rinse thoroughly after vinegar or baking soda treatment

Step 5: Advanced Pitcher Cleaning with HOCL
Enhance your pitcher cleaning routine with the General Purpose Cleaner (HOCL) from SolutionsHOCL.com. This advanced deep cleaning solution provides superior results for water pitcher maintenance.
HOCL cleaning application:
- Spray or apply solution to coat all interior surfaces evenly
- Allow 1-2 minutes contact time for thorough cleaning action
- This process effectively removes buildup and residue through natural oxidation
Step 6: Final Pitcher Preparation
After HOCL cleaning, either rinse with clean water or allow your pitcher to air-dry completely. The General Purpose Cleaner leaves no residue and is safe for repeated use on water pitchers.
Water Filter Care Instructions
Essential reminder: Clean water filters only with water or according to manufacturer specifications. Avoid exposing filters to vinegar, soap, or cleaning solutions unless specifically approved for your filter type.
Water Pitcher Maintenance Schedule
Regular Cleaning Frequency
- Clean your Pitcher of Life every 1-2 weeks for optimal performance
- Increase cleaning frequency for heavy-use households or shared pitchers
- Always clean before first use after storage periods
Best Practices for Pitcher Maintenance
-
Hand wash only: Never put Pitcher of Life components in dishwashers to prevent damage
-
Proper storage: Store pitchers completely dry when not in regular use
- Pre-use cleaning: Use General Purpose Cleaner before returning stored pitchers to service

Why Choose HOCL for Water Pitcher Cleaning
The General Purpose Cleaner (HOCL) from SolutionsHOCL.com offers superior advantages for water pitcher maintenance:
-
Food-safe formula: Specifically designed for items that contact drinking water
-
Residue-free cleaning: Leaves no chemical residue or aftertaste
-
Material compatibility: Safe for both BPA-free plastic and borosilicate glass
-
Eco-friendly solution: Environmentally conscious cleaning choice
-
Easy application: Simple spray-and-rinse or air-dry process
Pitcher of Life Cleaning Tips for Best Results
-
Consistency matters: Regular cleaning prevents buildup and maintains water taste
-
Temperature consideration: Use warm (not hot) water to prevent thermal shock on glass models
-
Gentle handling: Treat all components carefully during cleaning to prevent damage
-
Complete drying: Ensure all parts are dry before reassembly to prevent moisture issues
Troubleshooting Common Pitcher Cleaning Challenges
Cloudy Water Appearance
Often caused by mineral deposits - increase vinegar treatment frequency and ensure thorough rinsing.
Unpleasant Taste or Odor
Usually indicates inadequate cleaning - incorporate HOCL treatment more regularly and check filter replacement schedule.
Stubborn Stains
For persistent staining, extend vinegar soaking time and consider baking soda paste treatment for glass models.
Conclusion: Maintain Your Investment with Proper Pitcher Cleaning
Effective Pitcher of Life maintenance doesn't require complicated procedures. By combining traditional cleaning methods with the advanced cleaning power of HOCL, you create a routine that preserves your pitcher's performance and maintains optimal water quality.
The General Purpose Cleaner from SolutionsHOCL.com provides professional-grade cleaning results while remaining gentle enough for regular use. This superior cleaning solution ensures your water pitcher continues delivering fresh, great-tasting filtered water.
Regular maintenance following these guidelines will keep your water tasting fresh, your pitcher looking clean, and your investment protected. Choose quality cleaning supplies and establish a consistent routine for the best water pitcher performance.
Start your improved cleaning routine today and experience the difference proper maintenance makes in your daily hydration experience.
For premium water pitcher cleaning solutions, visit SolutionsHOCL.com and discover the General Purpose Cleaner that cleaning professionals recommend.

